
Troubleshooting Steps for Diagnosing Turbocharger Problems
Introduction
A turbocharger is an integral component of many modern engines, helping to increase power and efficiency by compressing the air intake. However, like any mechanical device, turbochargers can experience problems over time. In this blog post, we will discuss some troubleshooting steps to help diagnose turbocharger problems and ensure optimal performance.
Step 1: Check for Boost Pressure
The first step in diagnosing turbocharger problems is to check the boost pressure. Low boost pressure can indicate a variety of issues, such as a worn-out turbocharger, a leak in the intake system, or a malfunctioning wastegate. Use a boost pressure gauge to measure the pressure and compare it to the manufacturer’s specifications.
Step 2: Inspect for Air and Oil Leaks
Air and oil leaks can significantly impact the performance of a turbocharger. Inspect the intake system for any cracks, loose connections, or damaged hoses that may be causing air leaks. Additionally, check the turbocharger for oil leaks, which can be a sign of a failing seal or bearing. Address any leaks promptly to prevent further damage to the turbocharger.
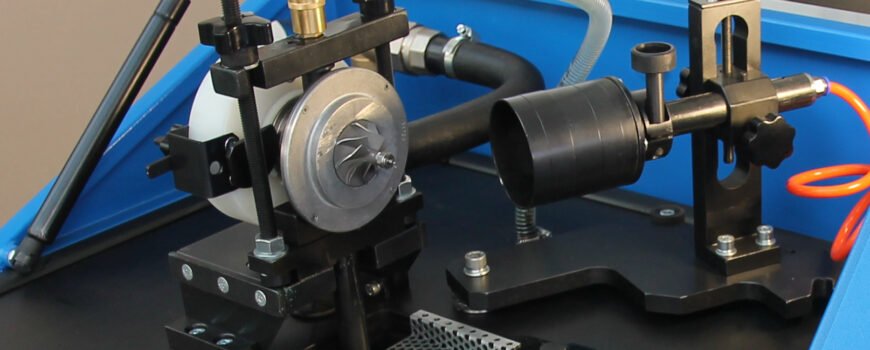
Step 3: Examine the Compressor and Turbine Wheels
The compressor and turbine wheels are critical components of a turbocharger. Inspect these wheels for any signs of damage, such as chips, cracks, or excessive wear. If the wheels are damaged, they may need to be replaced or repaired to restore proper functionality.
Step 4: Check the Wastegate
The wastegate is responsible for controlling the boost pressure in a turbocharged engine. A malfunctioning wastegate can lead to overboost or underboost conditions. Inspect the wastegate actuator and linkage for any signs of damage or sticking. Ensure that the wastegate is operating smoothly and responding correctly to changes in engine load.
Step 5: Clean or Replace the Air Filter
A clogged or dirty air filter can restrict airflow to the turbocharger, reducing its efficiency and performance. Regularly clean or replace the air filter according to the manufacturer’s recommendations. A clean air filter will help maintain optimal turbocharger performance and prevent unnecessary strain on the engine.
Step 6: Check the Exhaust System
A restricted or damaged exhaust system can negatively impact turbocharger performance. Inspect the exhaust system for any blockages, such as a clogged catalytic converter or a damaged exhaust manifold. Clear any obstructions or repair any damage to ensure proper exhaust flow and turbocharger operation.
Step 7: Scan for Error Codes
Modern vehicles are equipped with onboard diagnostic systems that can provide valuable information about turbocharger problems. Use an OBD-II scanner to retrieve any error codes related to the turbocharger. These codes can help pinpoint specific issues and guide the troubleshooting process.
Step 8: Consult a Professional
If you have followed the previous steps and are still unable to diagnose the issue with your turbocharger, it may be time to consult a professional. An experienced mechanic or turbocharger specialist will have the expertise and tools necessary to identify and resolve complex turbocharger problems.
Conclusion
Turbocharger problems can have a significant impact on engine performance and efficiency. By following these troubleshooting steps, you can diagnose and address turbocharger issues promptly, ensuring optimal performance and prolonging the lifespan of your turbocharged engine.